Aug 7, 2026Insights
From a Sketch to a Bronze Masterpiece – The Full Process
Custom bronze sculpture: not magic, but precision foundry. From sketch to lost-wax casting, patina, QC. Learn the process, push timelines, spot skill. From Huizhou.
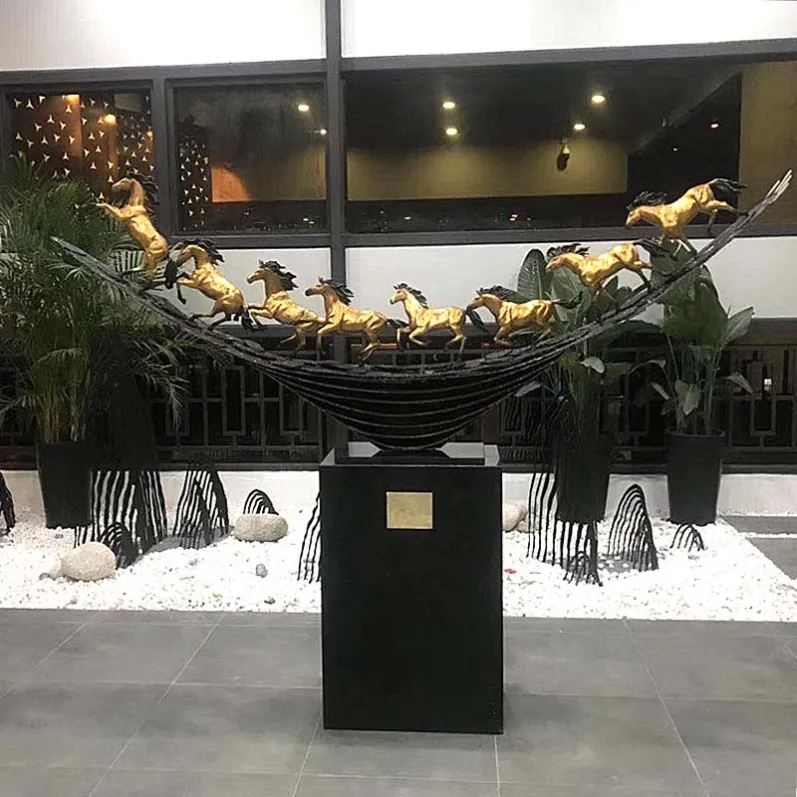
The truth about custom bronze sculpture: it's not magic, it's craftsmanship.
A lot of people think custom bronze sculpture is a black box. You send over a rough sketch—or even just a vague idea—and a few weeks later, a heavy, museum-worthy piece of art shows up at your door. The gap between those two moments feels like a trick.
It's not. It's a precise, high-stakes industrial relay race. Whether you're a hotel procurement manager, an interior designer, or a brand owner looking to launch your own line, understanding this process is how you learn to push the right buttons, ask the right questions, and tell the difference between a factory that's all talk and one that actually knows its craft.
We've been casting in our Huizhou foundry for years. Here's exactly what goes into making a bronze sculpture—step by step.
Phase 1: Getting Your Idea on the Table
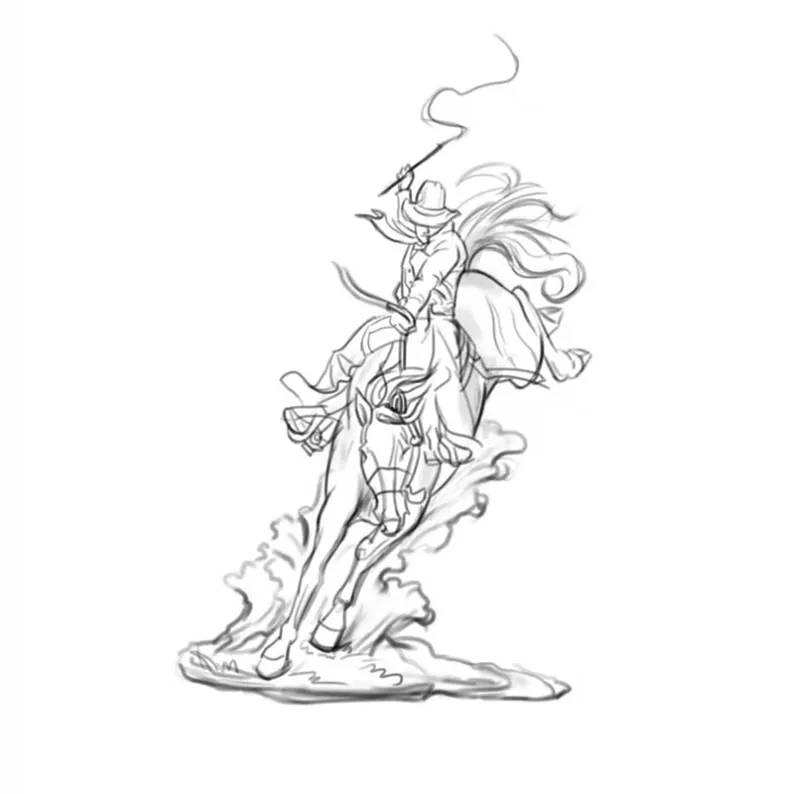
It all starts with a conversation. You might send us a reference image, a hand-drawn sketch, or even a CAD file. What gets us most excited? A simple text description—no drawing, no CAD, just an idea. Our design team jumps in from there.
If you don't have existing drawings, we start with concept sketches, then move straight to 3D modeling. This is the foundation of the entire project. In the 3D model, we can verify proportions, check structural integrity, and spot potential issues before anything is committed to metal.
Key point: This is the cheapest stage to make changes. Most clients go through 2 to 4 rounds of revisions here—completely normal. Changes in the digital file are always cheaper and faster than changes after the mold is cut.
Deliverable: A finalized 3D model file, renderings, and a signed-off design specification sheet.
Phase 2: From Screen to Something You Can Touch
Once the design is locked, we bring it into the physical world. For most projects, we 3D-print a master pattern using resin. For highly detailed pieces or oversized sculptures, our master artisans may hand-sculpt a clay model—though that's more labor-intensive, so we generally prefer clients to provide digital files when possible.
That master pattern is then used to create a silicone mold. Silicone is remarkable—it can reproduce the artist's fingerprints from the original clay.
Common question: "How many casts can one mold handle?"
It depends on the mold material and the level of detail. For lost-wax casting, rubber molds typically last for 20 to 50 pieces. If you need higher volume, we produce multiple molds. If you want design changes mid-production, it's best to finalize them before we cut multiple molds—otherwise, costs add up.
Deliverable: Production-grade silicone molds and the first wax pattern. This is where you first see the sculpture take shape.
Phase 3: Fire and Bronze – The Lost-Wax Process
Now for the main event. Lost-wax casting has been around for thousands of years. The core logic hasn't changed, but the details are all about experience.
Shell building: We coat the wax pattern in layers of ceramic slurry and sand, building up a hard shell.
De-waxing: The shell goes into the kiln. The wax melts and burns away, leaving a hollow cavity that's an exact negative of the sculpture.
Pouring: Bronze ingots go into the crucible, heated to around 1200°C (2200°F), and poured into the ceramic shell while molten.
De-shelling: After cooling, we break away the ceramic shell. The raw bronze casting emerges.
This is where things can go wrong. Temperature too low? The bronze doesn't fill the mold completely (short pour). Uneven cooling? Shrinkage cavities or hot cracks. No reputable foundry will tell you "nothing can go wrong." A good one will explain how they control gating, venting, and cooling rates to keep rejection rates to a minimum.
Deliverable: Rough bronze castings, gates removed, ready for finishing.
Phase 4: Bringing It to Life – Finishing and Patina
This is where skill really shows—and where many smaller workshops cut corners.
Grinding and smoothing: Weld seams are ground flat. Surfaces are sandblasted or hand-finished to achieve the desired texture. Complex pieces can take days just at this stage.
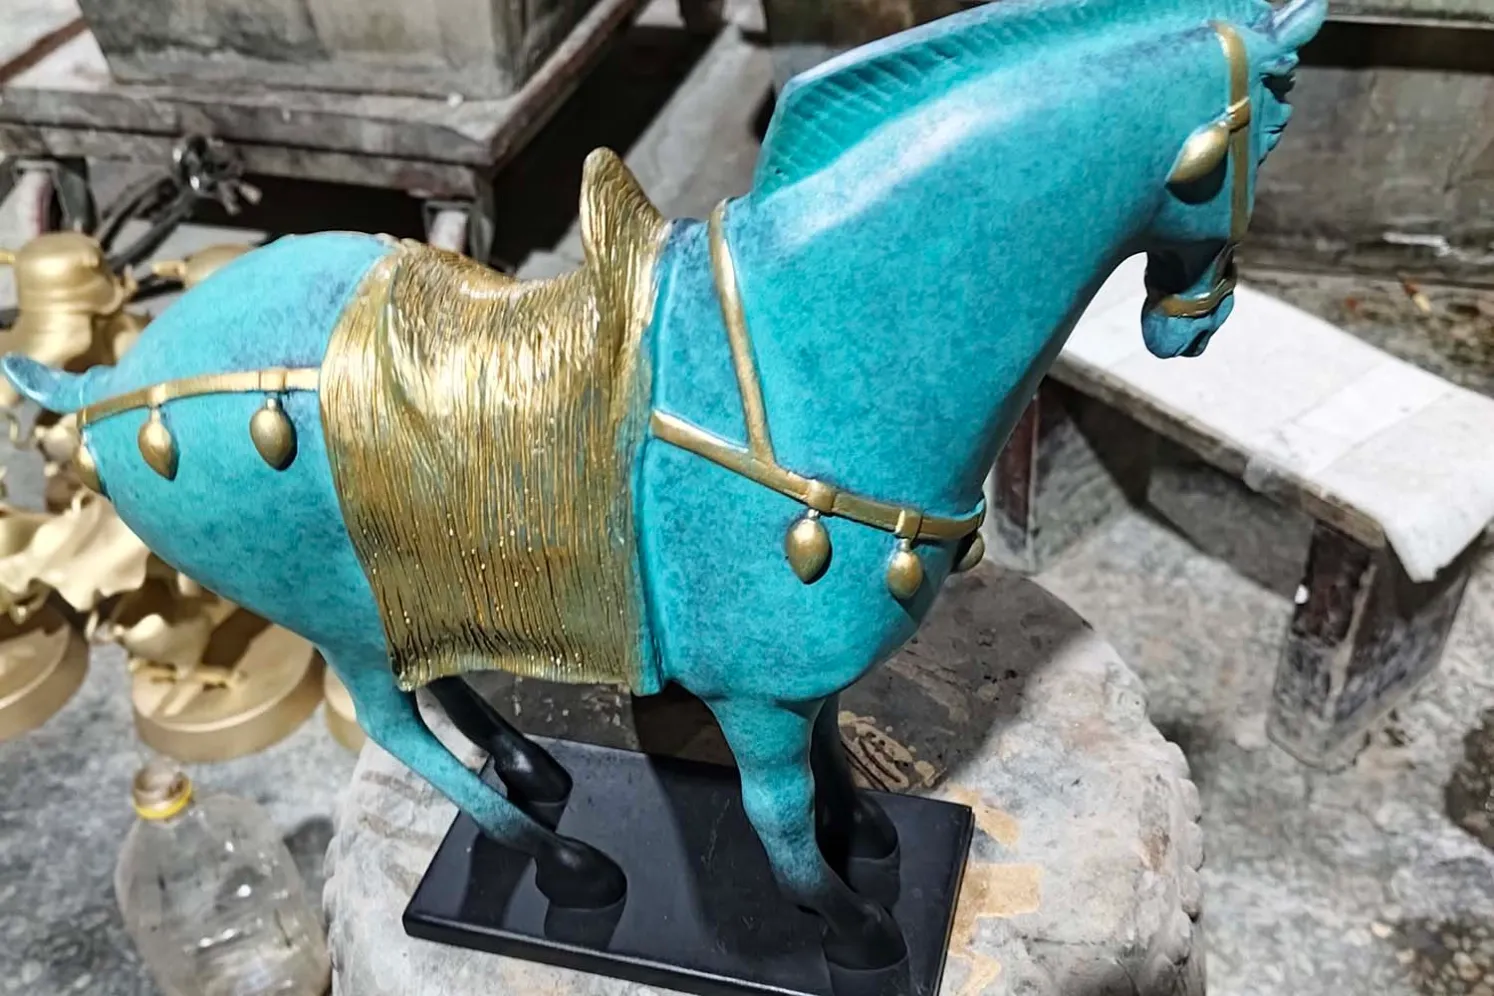
Patina (coloring): This is our specialty. We use hot patination—applying chemical reagents to heated bronze so the color grows into the metal, rather than sitting on the surface like paint. That deep antique bronze, that rich verdigris green—this is how it's done. These colors are durable and develop more character with age.
Sealing: After patination, we apply a wax seal. For outdoor sculptures, the protective layer is thicker.
First article: A color sample that must be signed off by you before we proceed to full production.
Phase 5: Assembly and Quality Control
Small pieces can be cast in one piece. Anything over about 60 cm (24 inches) is usually cast in sections and welded together. Turning multiple bronze sections into a seamless whole—that takes serious welding skill.
The base is another big consideration. Marble, granite, solid wood (oak, walnut), metal—all customizable. We can even engrave your logo.
Before shipping, every piece goes through a rigorous inspection:
- Surface defects?
- Color matching the approved sample?
- Dimensions correct?
- Welds solid?
We photograph every piece and send you the images for final approval. Packaging is handled to your specifications, with shipping protection built in.
Timeline: This Takes Time
Bronze is a slow craft. A realistic timeline looks like this:
Stage | Duration |
Design & 3D modeling | 1–2 weeks |
Mold making & first sample | 2–4 weeks |
Trial casting & color approval | 2–3 weeks |
Full production | 8–16 weeks |
Base production (can run in parallel) | 3–4 weeks |
QC & packing (overlaps with production) | 2–3 weeks |
Total: From design sign-off to delivery, expect 12–16 weeks.
What slows things down?
- Highly intricate details
- Multiple color revisions
- Oversized pieces requiring multiple sections
- Peak production season (Q3–Q4)
How to speed things up?
- Approve designs within 24–48 hours
- Provide complete documentation upfront
- Tell us it's a rush order—we'll do what we can, but we can't bend the laws of physics.
On Confidentiality: It's Standard Practice
With custom work, design leakage is the biggest fear. We default to signing NDAs on every collaboration.
- We never use your project for marketing without permission.
- We never display your samples in our showroom without permission.
- Every employee signs a confidentiality agreement upon hire.
This isn't a special favor—it's the baseline for any serious brand. If you have specific requirements like blind shipping or dedicated production lines, just ask.
How to Get Started
Whether you need OEM manufacturing, ODM design, or pure private custom work—even if it's just one piece—we take it on.
Every project gets a dedicated project manager and weekly progress photos. Don't overthink it. Send us your sketch, your CAD, or even just a few sentences describing what you want. We'll get back to you within 24 hours with feedback and a preliminary quote.